Cloudflare CDN Cache – PrestaShop module
Compatibility
PrestaShop 1.7.x – 9.x
Download documentation
Cloudflare CDN Cache.pdf
YouTube video
https://youtu.be/A0cWKYWpEp8
Goal Allows to use Cloudflare services in your store and manage DNS records. Connect via API Token (recommended) or Global API Key and adjust Cloudflare settings directly in PrestaShop admin panel. Benefits for Merchants
- improves website performance;
- enhances website security;
- improves uptime and availability;
- simplifies website management.
Benefits for customers
- higher website performance;
- improves website security;
- reduces data usage;
- improves website reliability;
- protection against online threats.
Features
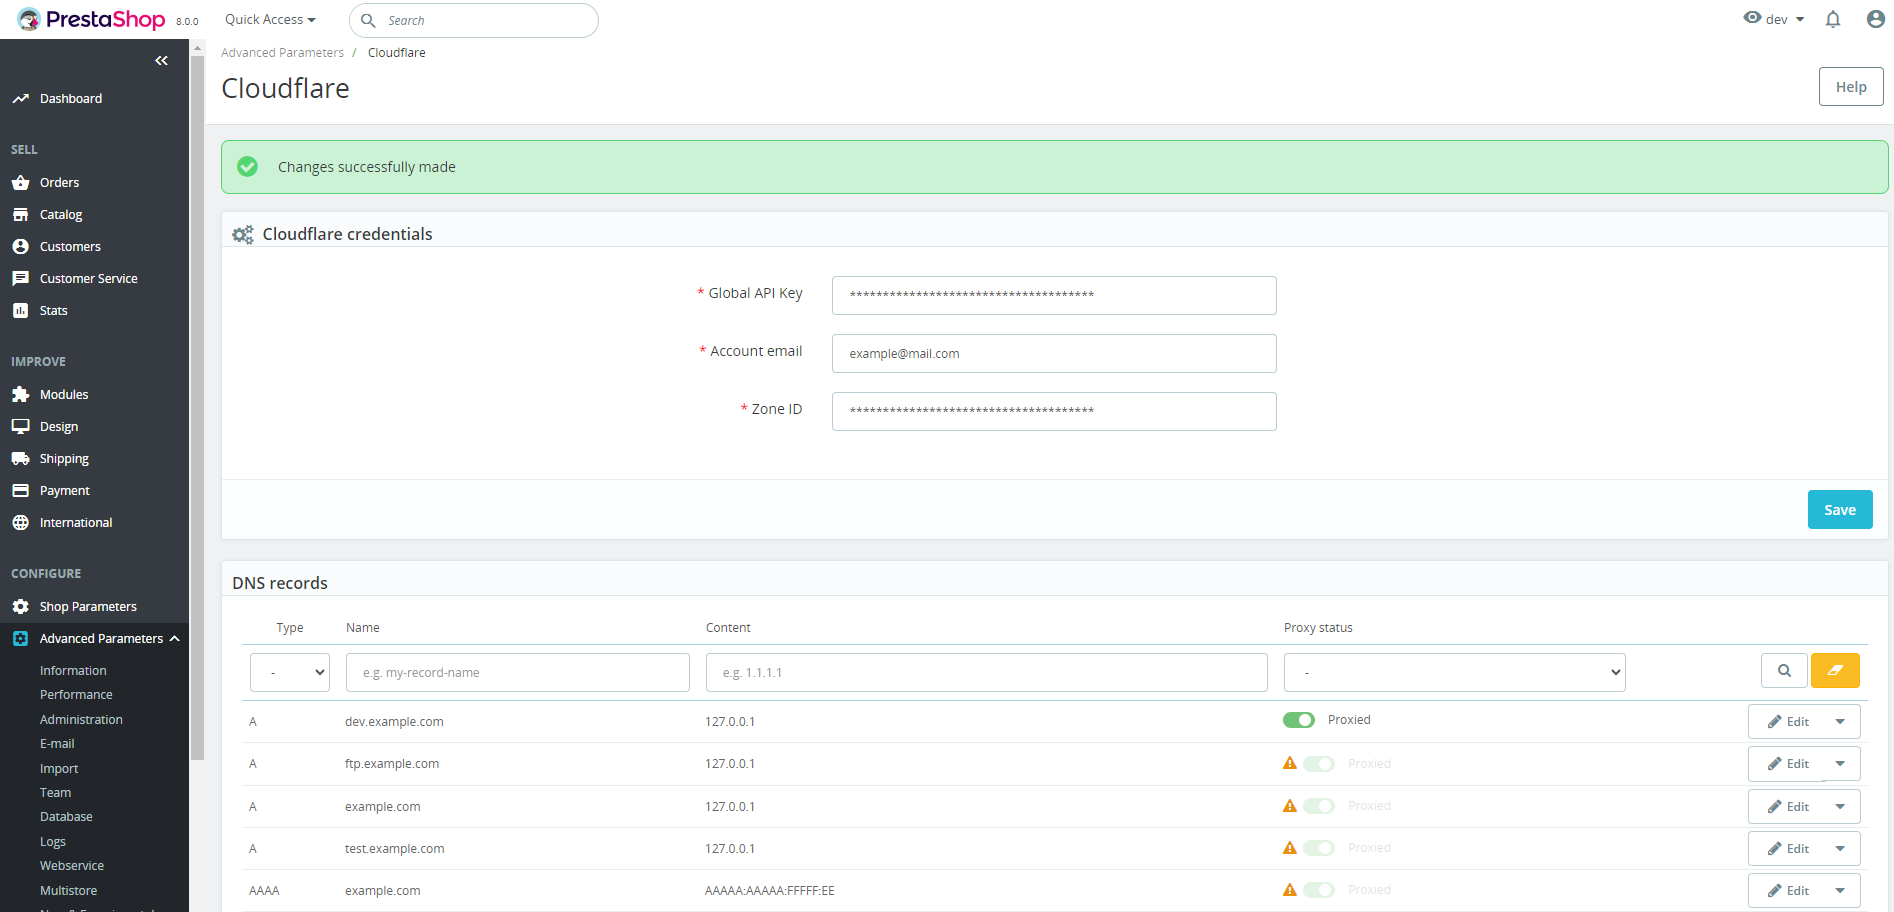
- possibility to manage your website by connecting your Cloudflare account;
- admin can change Cloudflare settings in PrestaShop back office;
- admin can purge or preload cache of their website;
- admin can manage DNS records;
- ability to quickly enable/disable Cloudflare on the site;
- back office shows which Cloudflare token permissions are granted or missing.
Module settings
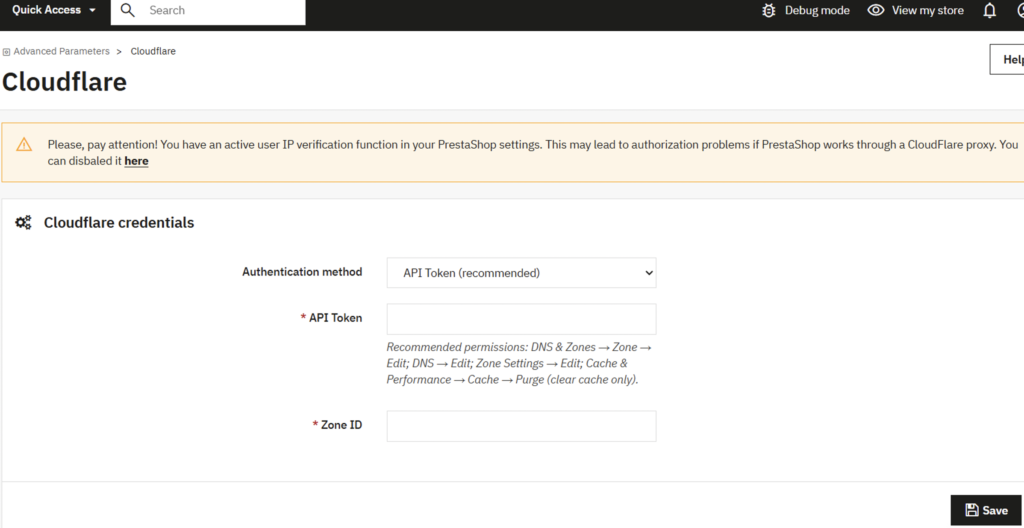
- Open the module configuration page (Advanced Parameters → Cloudflare, or via the module Configure button).
Choose an Authentication method:
- API Token (recommended) Paste your API Token and Zone ID.
- Global API Key Paste your Global API Key, Account email, and Zone ID.
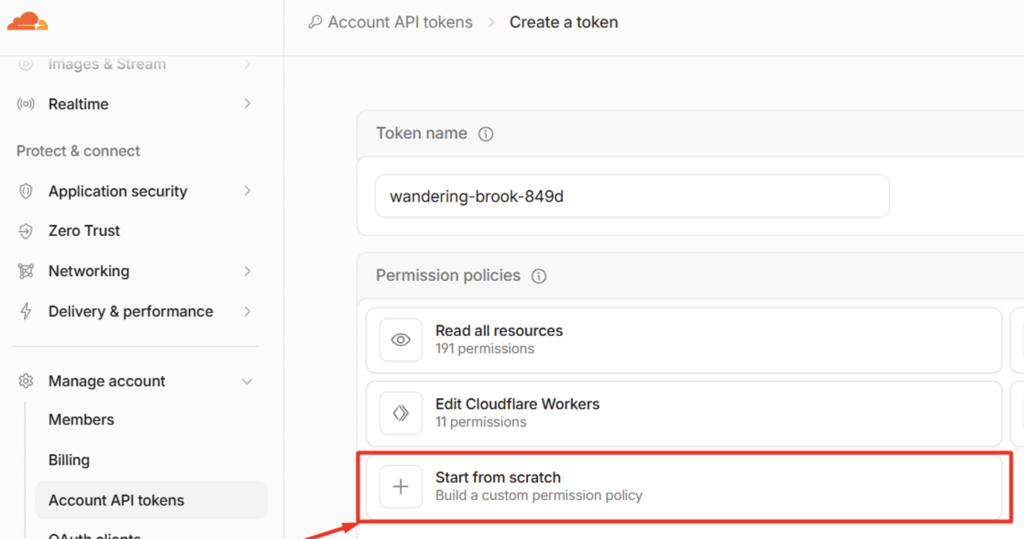
How to create a Cloudflare API Token (recommended)
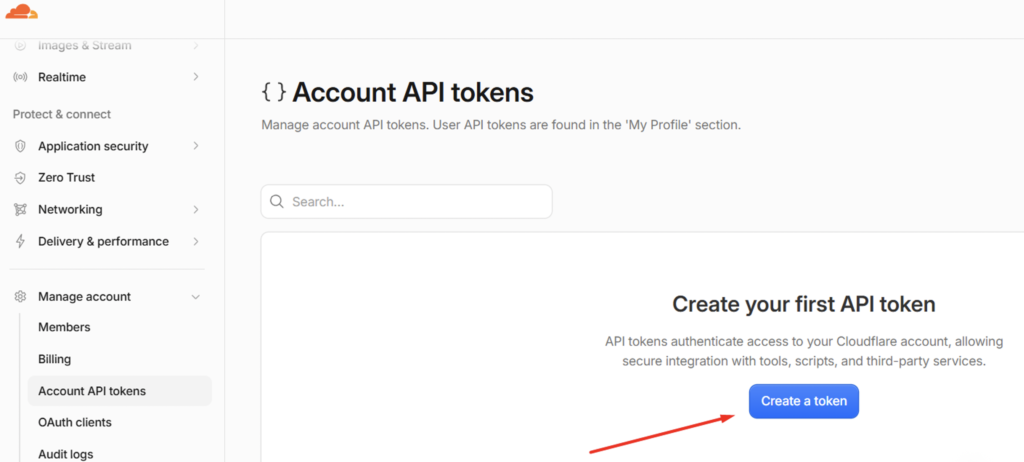
- Log in to the Cloudflare dashboard.
- Go to API Tokens and create a Custom Token.
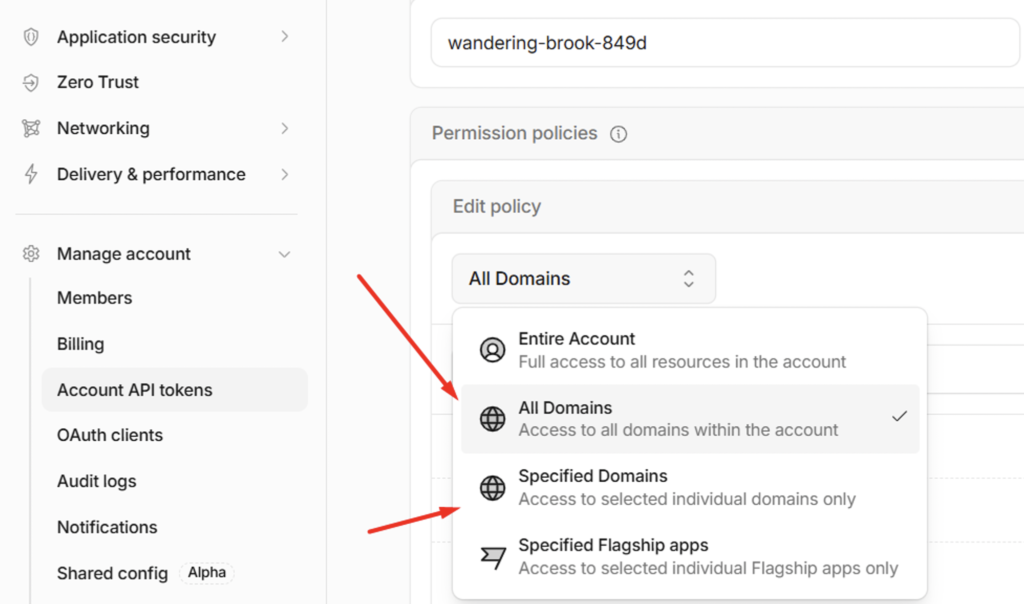
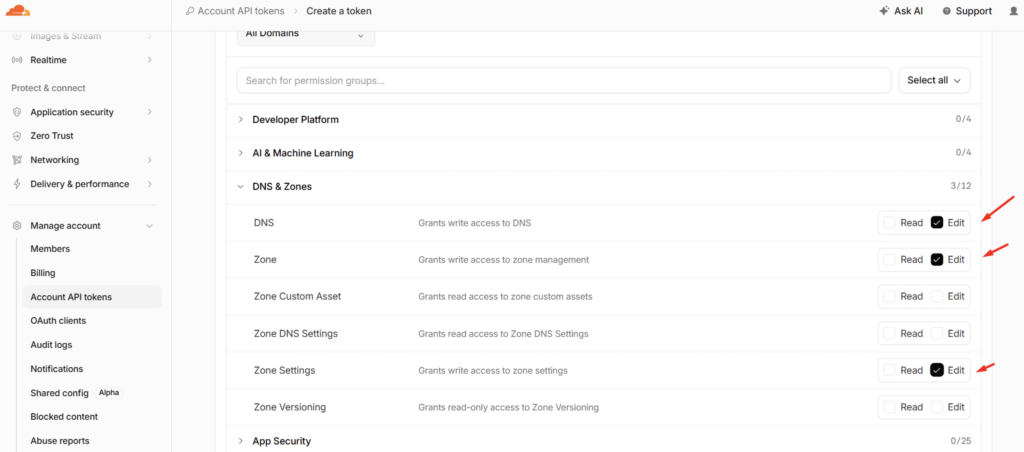
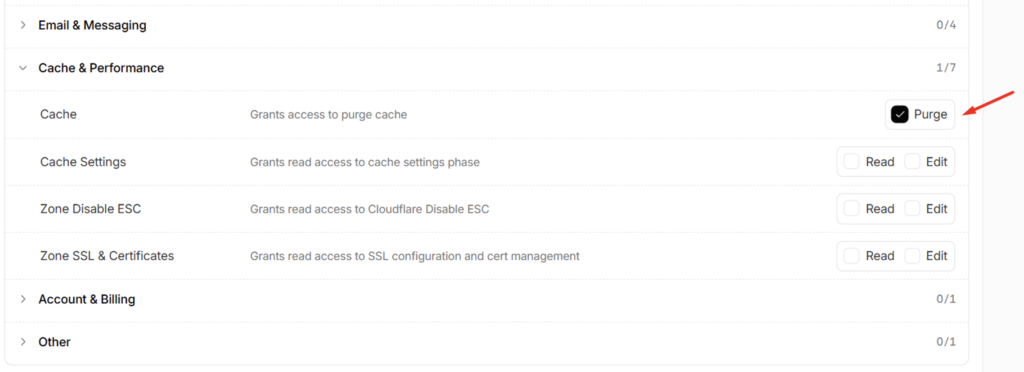
- Set permissions for a Specific zone (exact Cloudflare names):
| Permission | Used for |
| DNS & Zones → DNS → Edit | DNS list, edit, Pause/Enable Cloudflare |
| DNS & Zones → Zone → Edit | Required for Zone Settings to work |
| DNS & Zones → Zone Settings → Edit | Development mode, SSL/TLS mode, Cache preload |
| Cache & Performance → Cache → Purge | Clear cache, Cache preload |
Notes:
- Zone → Edit is required together with Zone Settings → Edit.
- Cache preload does not need Cache → Purge.
- After changing token permissions in Cloudflare, wait about a minute and reload the module page — changes are not always instant.
- Not required: Cache Settings, Zone SSL & Certificates (SSL/TLS mode uses Zone Settings).
On the configuration page, the Information block shows live status for each permission: Granted / Not granted.
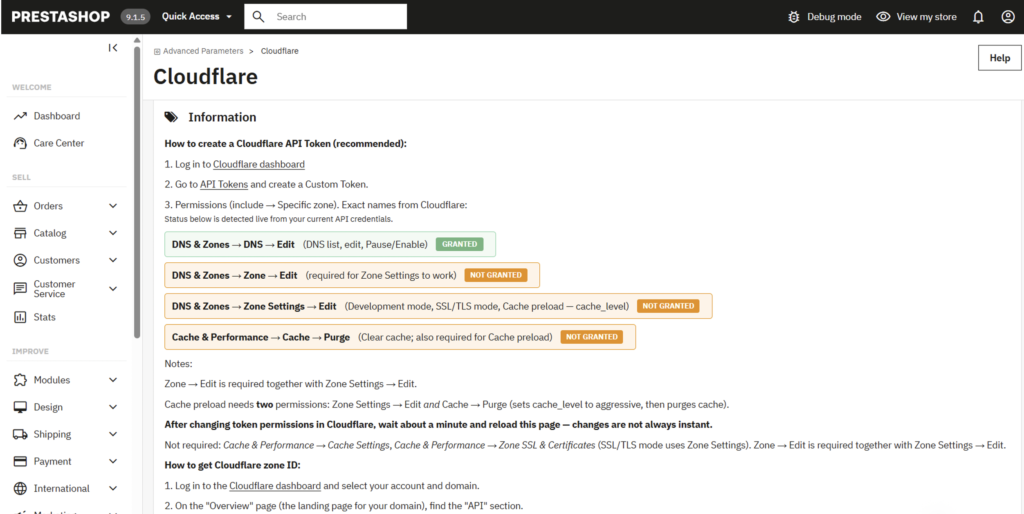
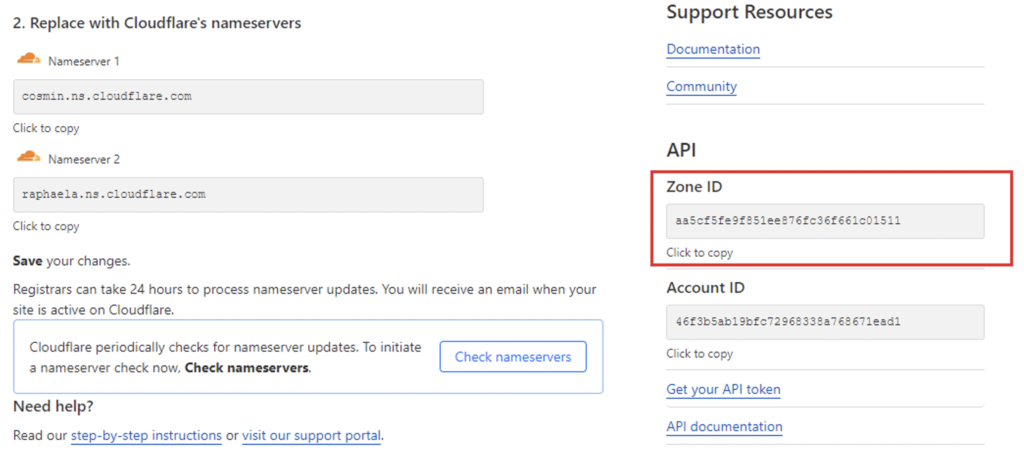
How to get Cloudflare Zone ID
- Log in to the Cloudflare dashboard and select your account and domain.
- On the Overview page, find the API
- Copy the Zone ID.
In order to use Global API key, to the following: Copy the Global API key, Zone ID of your website, your account email and paste them into the corresponding fields on the configuration page of the module for using features of the module: 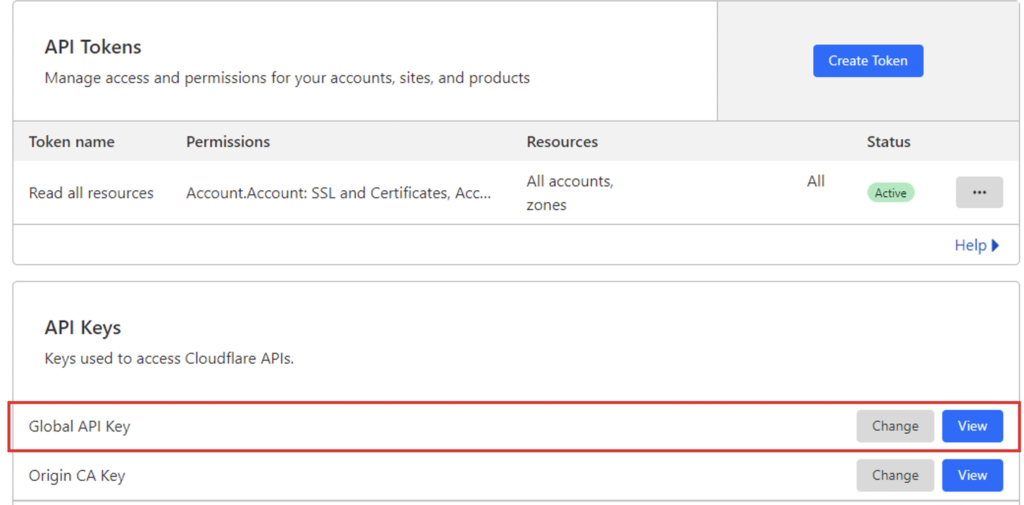
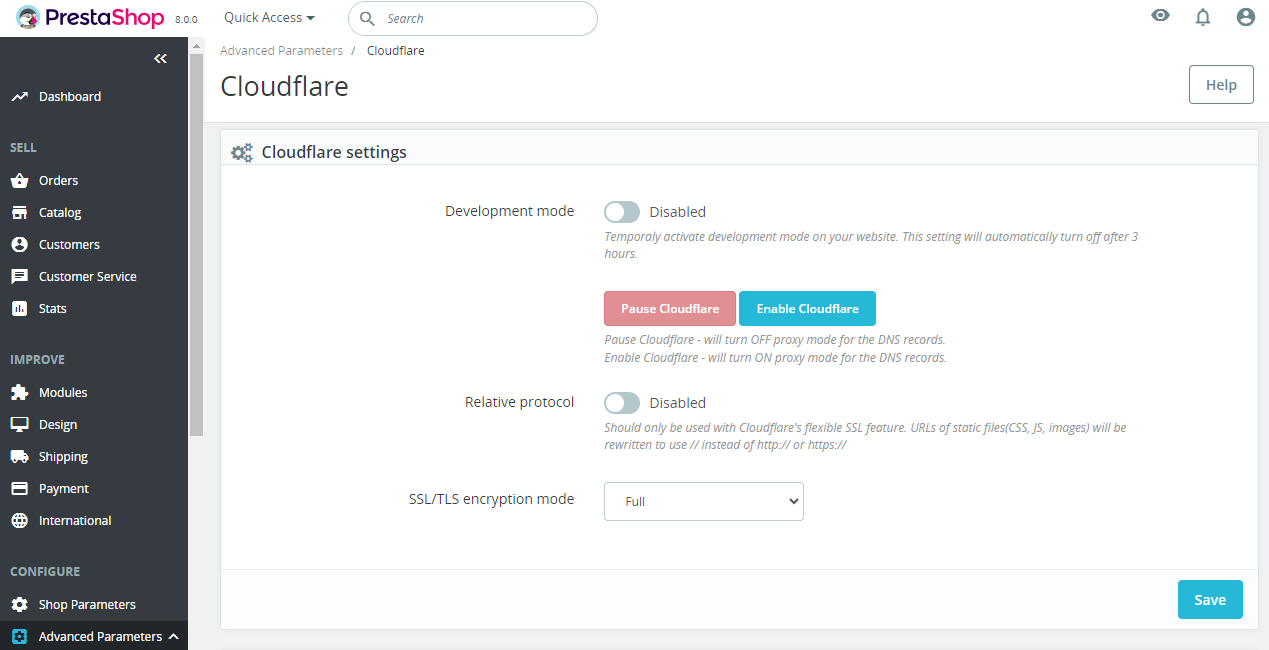
 2. Cloudflare settings form:
- Development mode – temporally activate development mode on your website. This option will automatically turn off after 3 hours.
- Pause Cloudflare – turns OFF proxy mode for the DNS records.
- Enable Cloudflare – turns ON proxy mode for the DNS records.
- Relative protocol – should only be used with Cloudflare’s flexible SSL feature. URLs of static files (CSS, JS, images) will be rewritten to use // instead of http:// or https://
- SSL/TLS encryption mode – sets encryption mode for your web traffic to prevent data theft and other tampering.
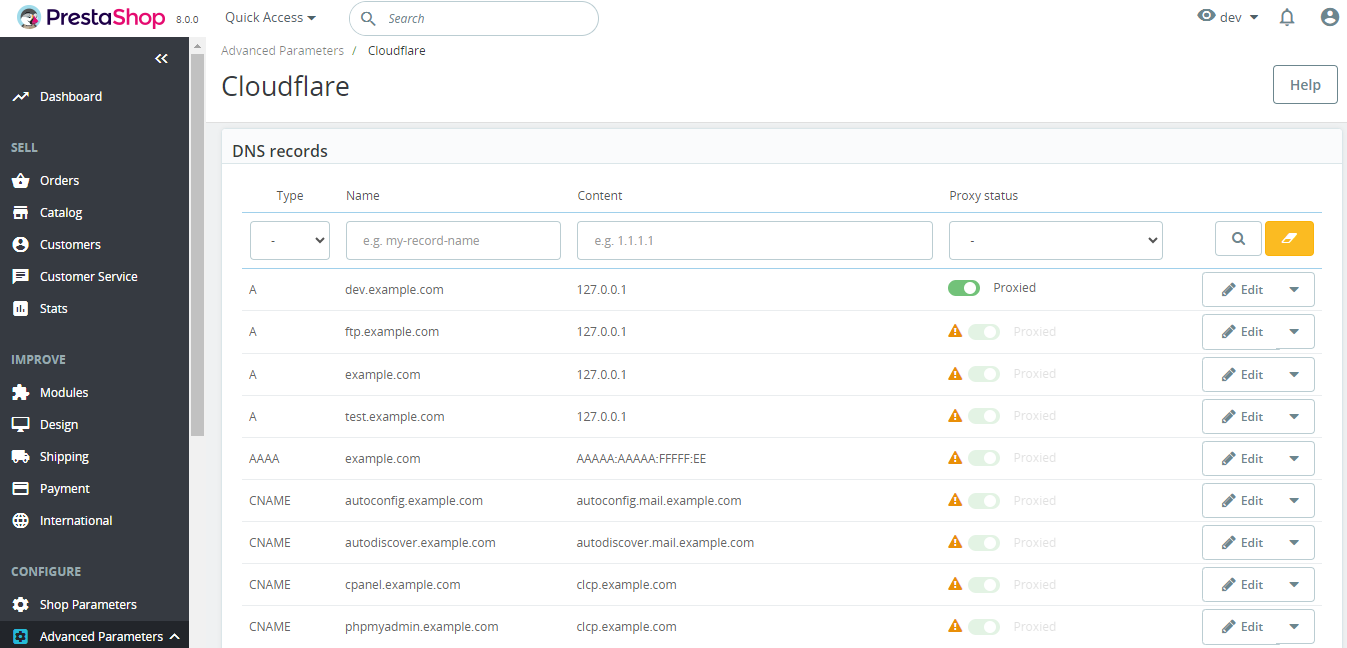
 3. DNS records
- Type – DNS records type
- Name – domain/subdomain values for the DNS records
- Content – values of the DNS records
- Proxy status – DNS records status, which shows whether DNS proxy mode is enabled
- Edit – opens the form for editing the DNS records
- Delete – deleting the DNS records
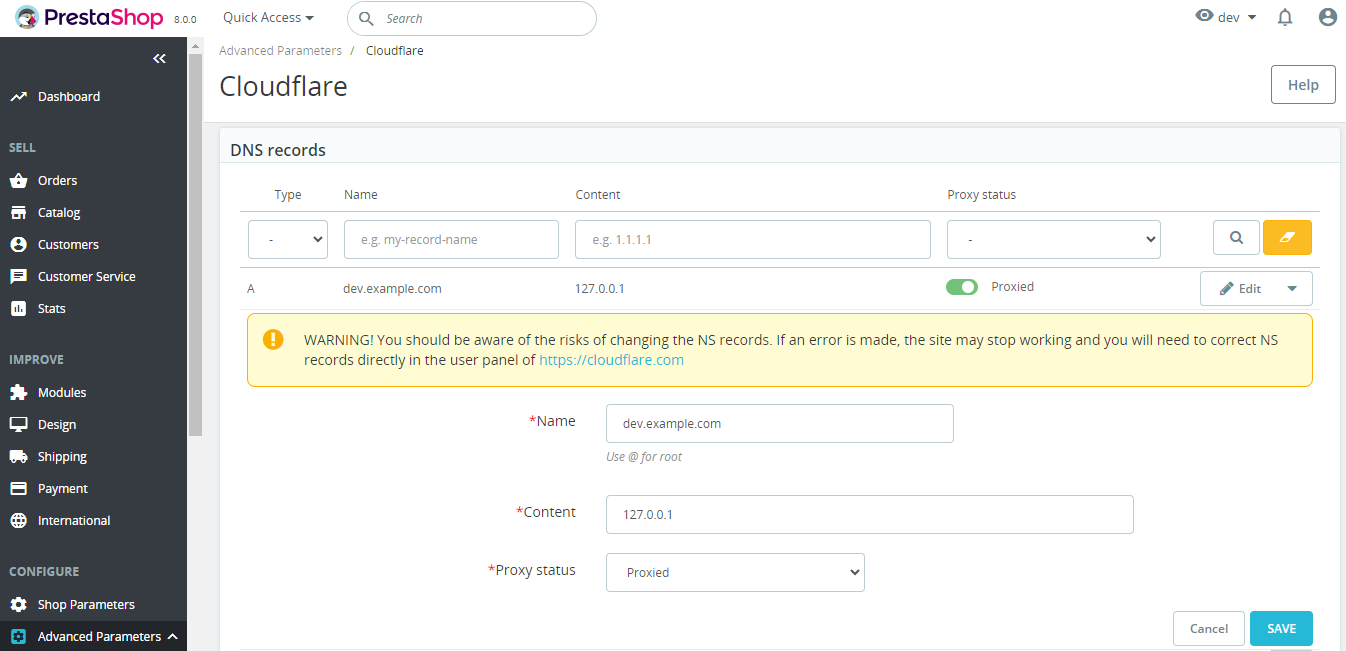
 Editing the DNS records: To edit the DNS, click the Edit button. It’s possible to change the name and content of the DNS record and the proxy mode (if it’s available for a specific DNS type). After making changes, save the record by clicking the Save button
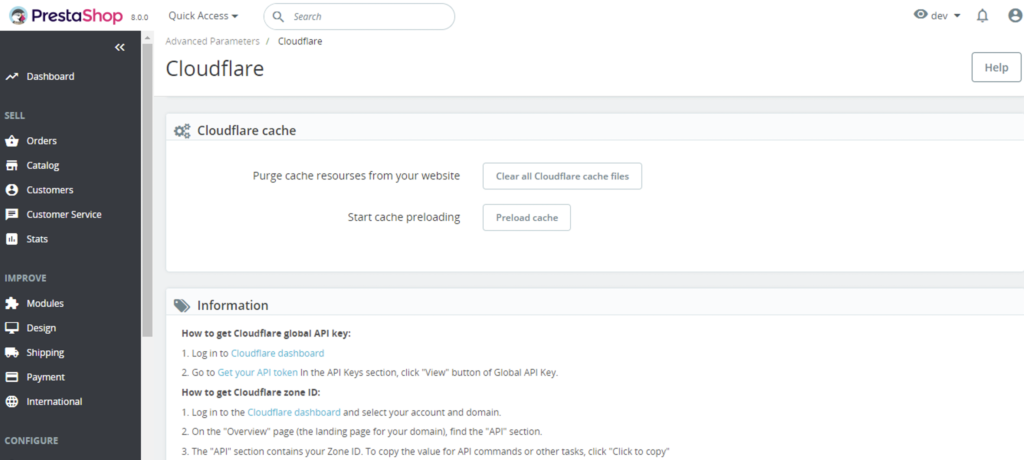
  4. Cloudflare cache form:
- Button Clear all cache files – purges all cache resources from your website.
- Button Preload cache – preloads cache on your website in Cloudflare.
 5. Information block:
 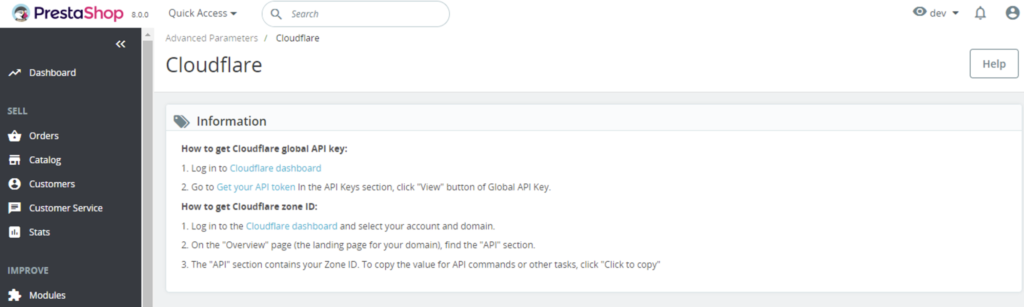 You can find here additional information for getting your Global API key and Zone ID. Installation:
- Upload the module through the Backoffice (Modules > Add New Module) or using FTP-client
- Hit Install it and enter the configuration
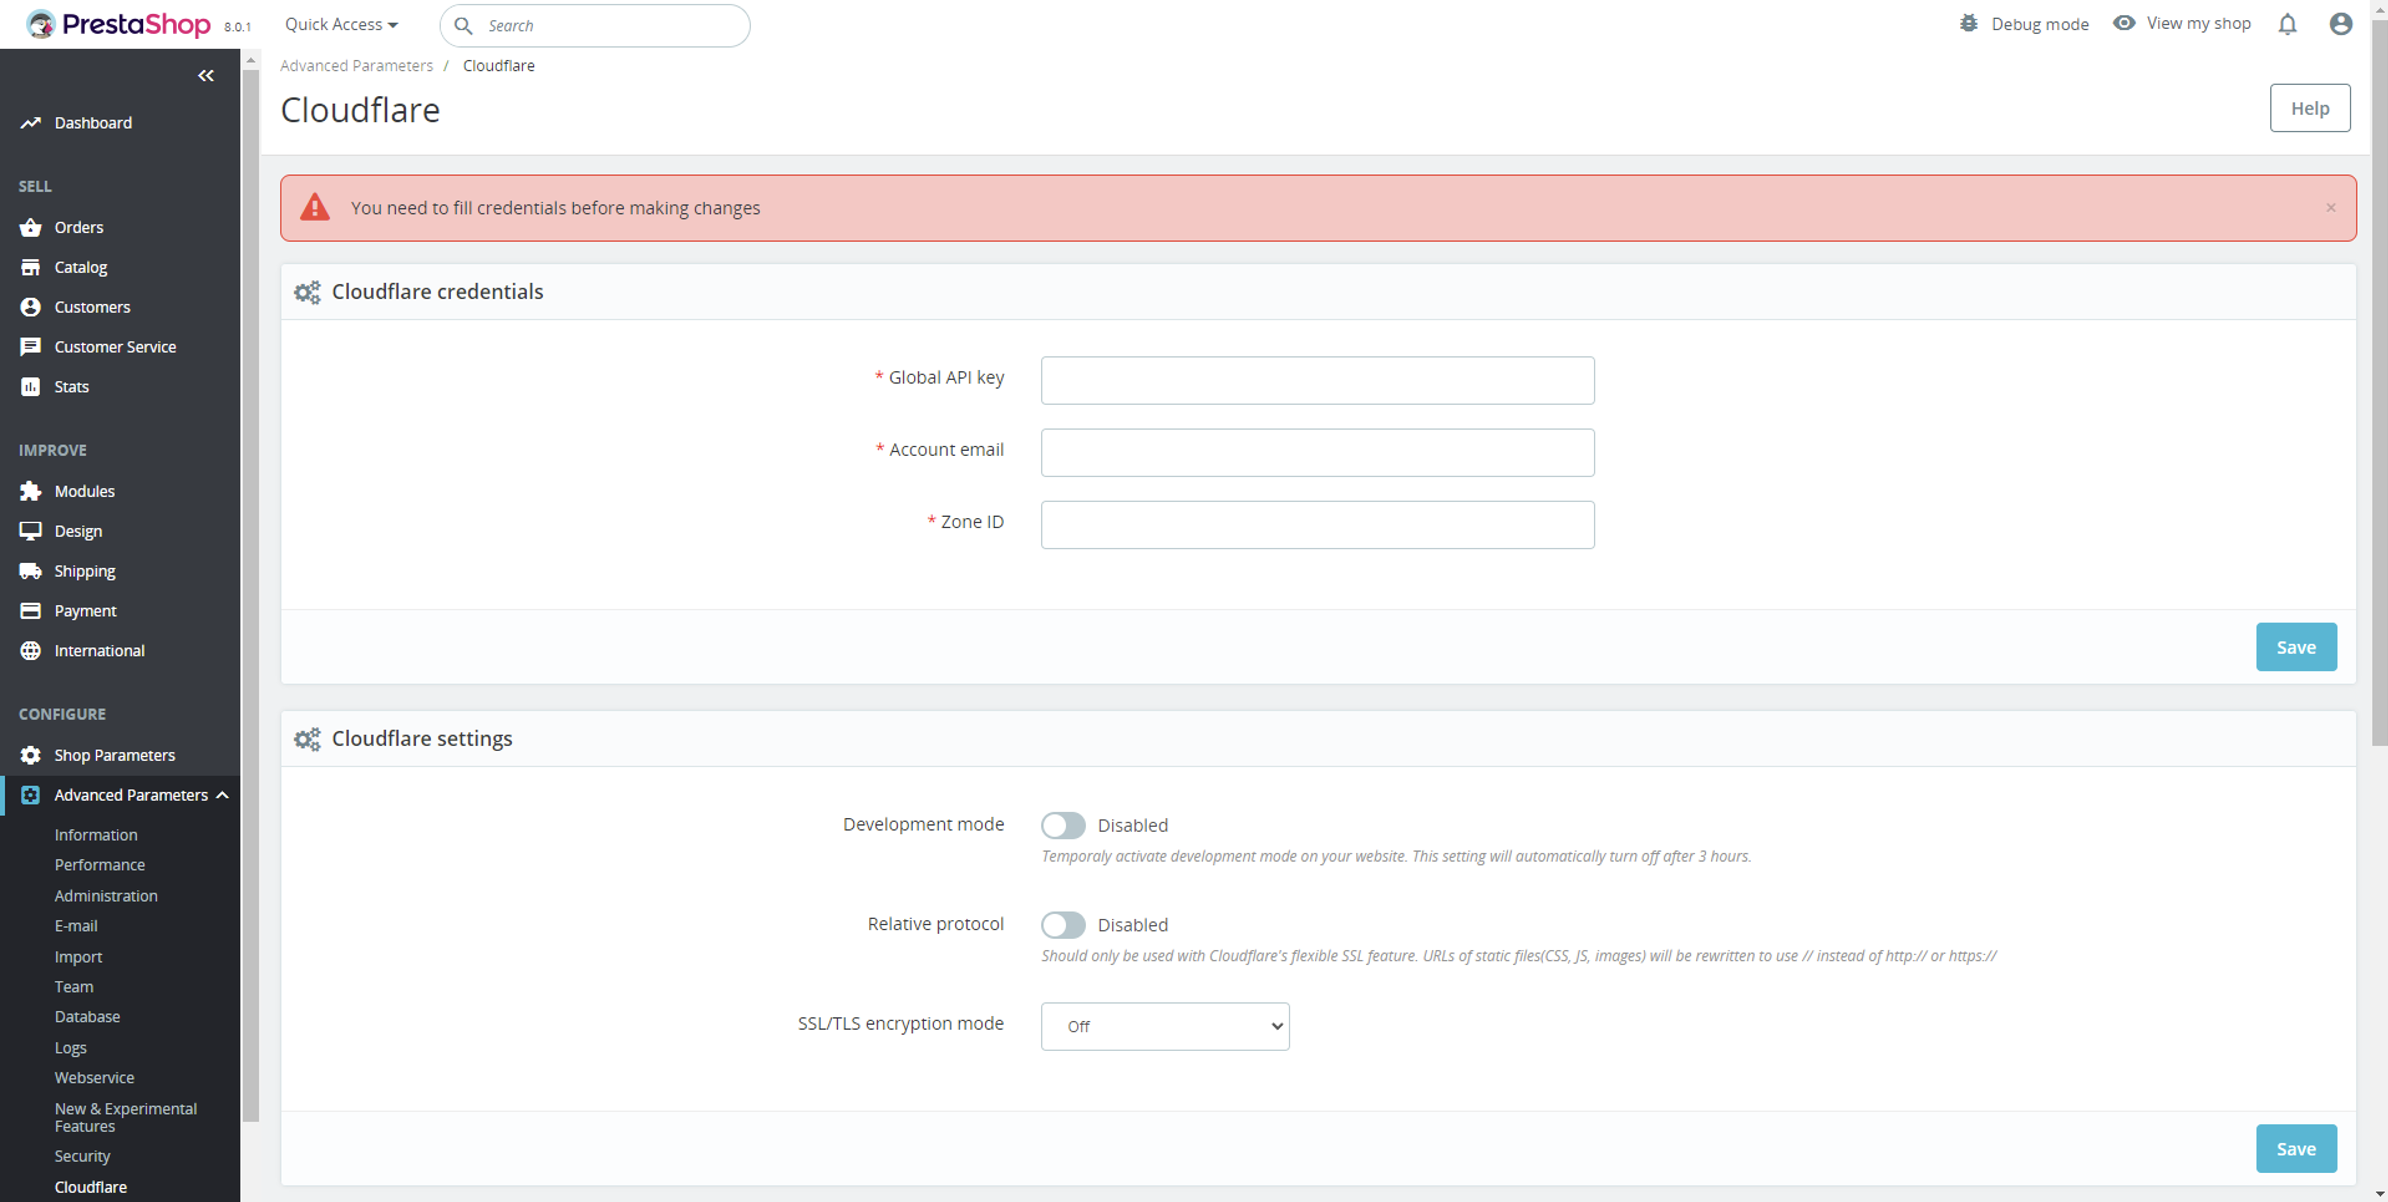
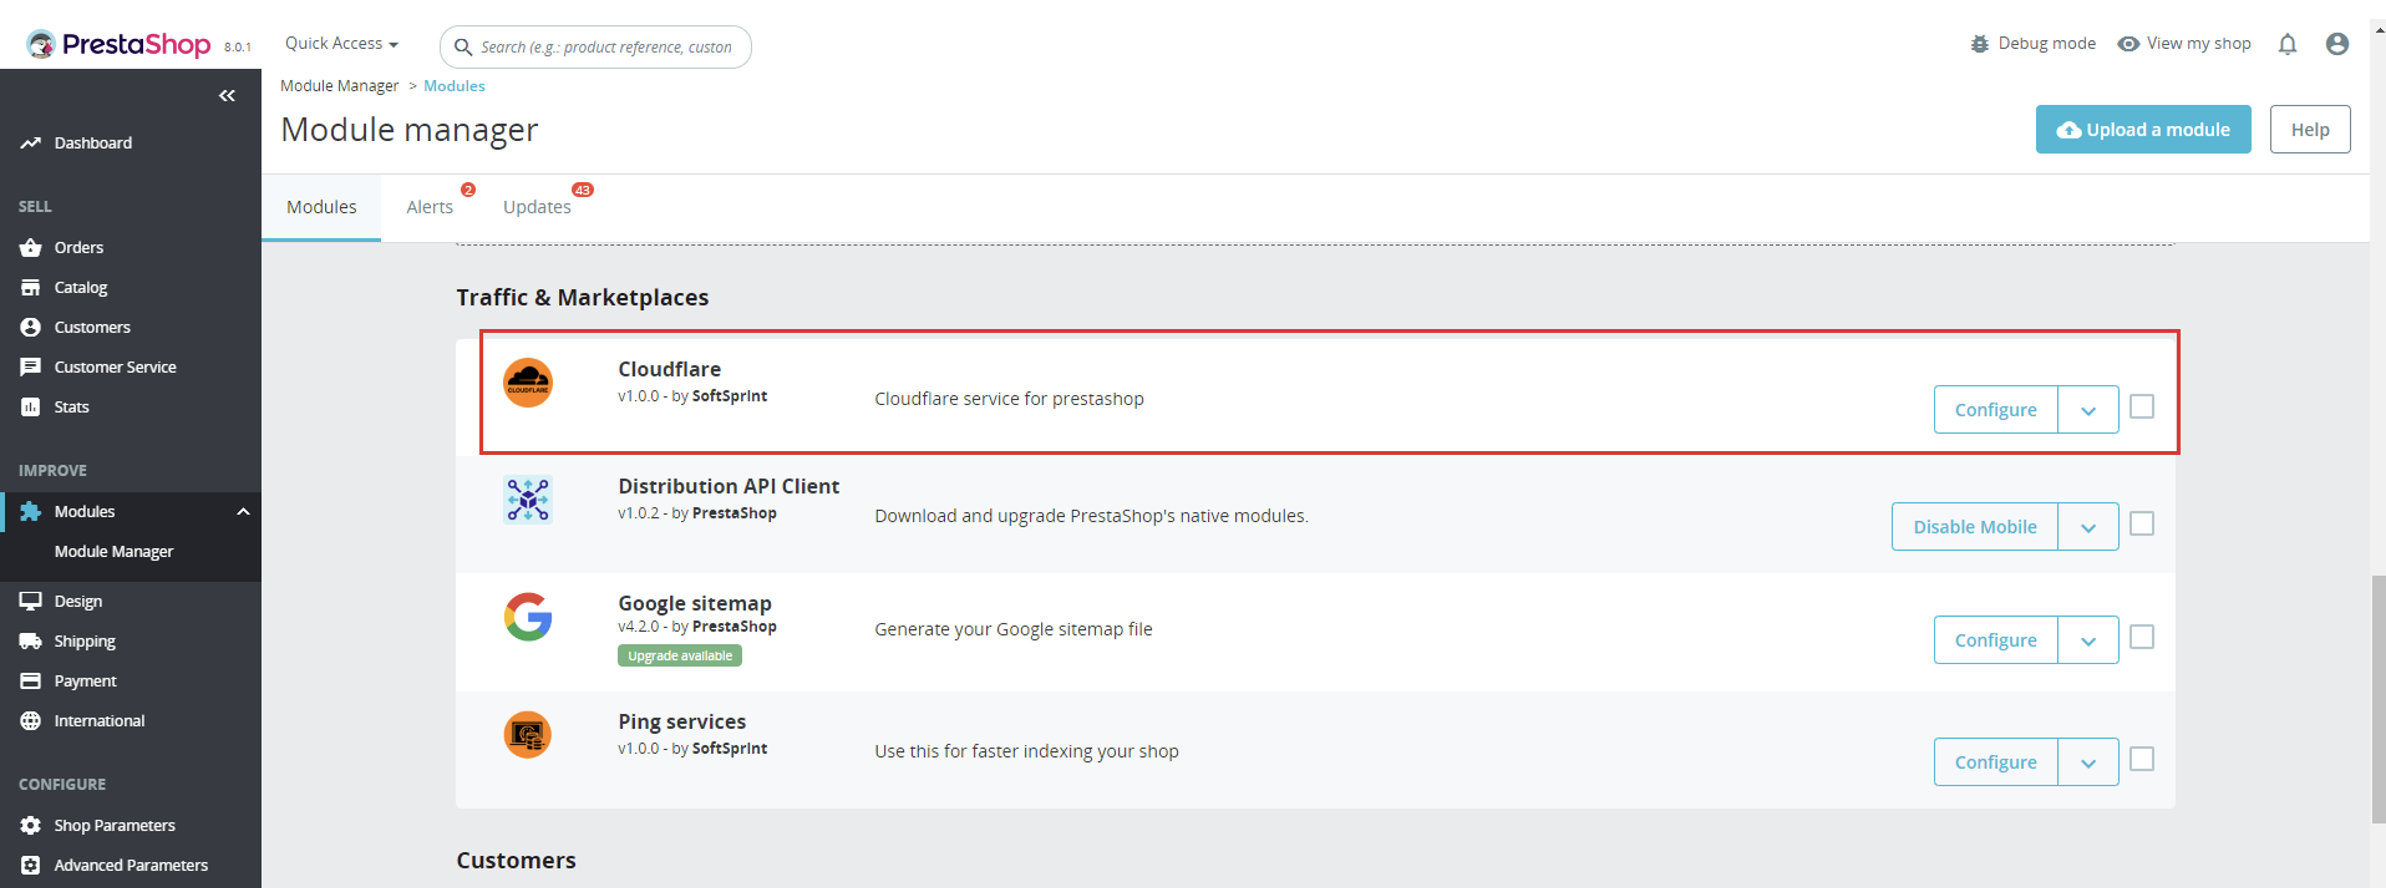 Module workflow cases: When the user didn’t fill in credentials and started using module features: – after making changes user will get message “You need to fill credentials before making changes”.
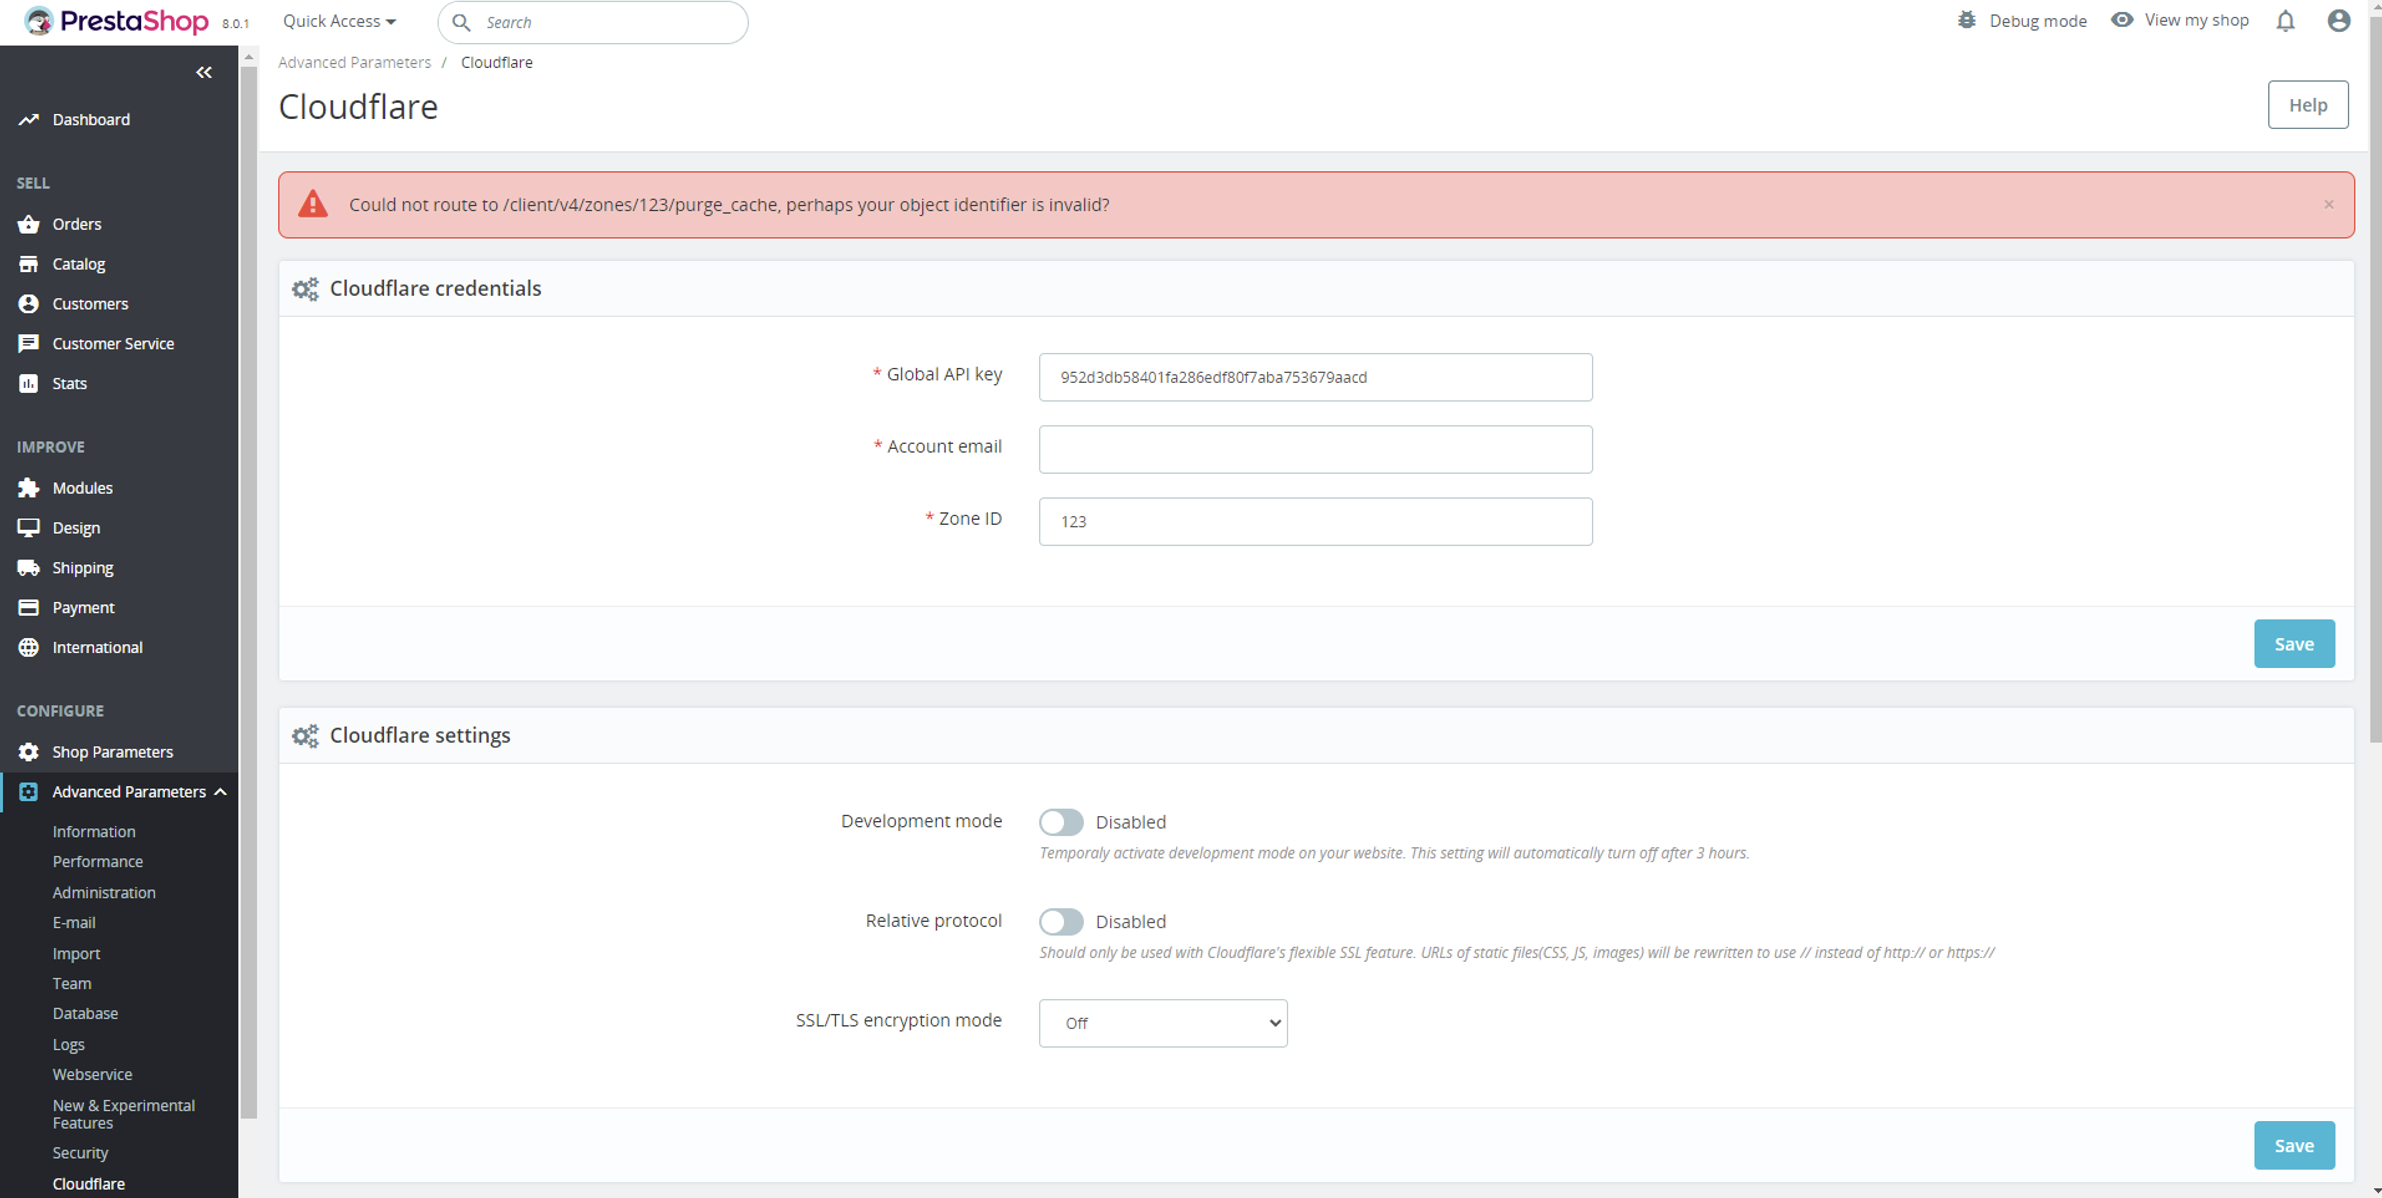
  When the user filled in wrong credentials: – after making changes user will get message such as “Authentification error” or “Could not route to [route name], perhaps your object identifier is invalid?”.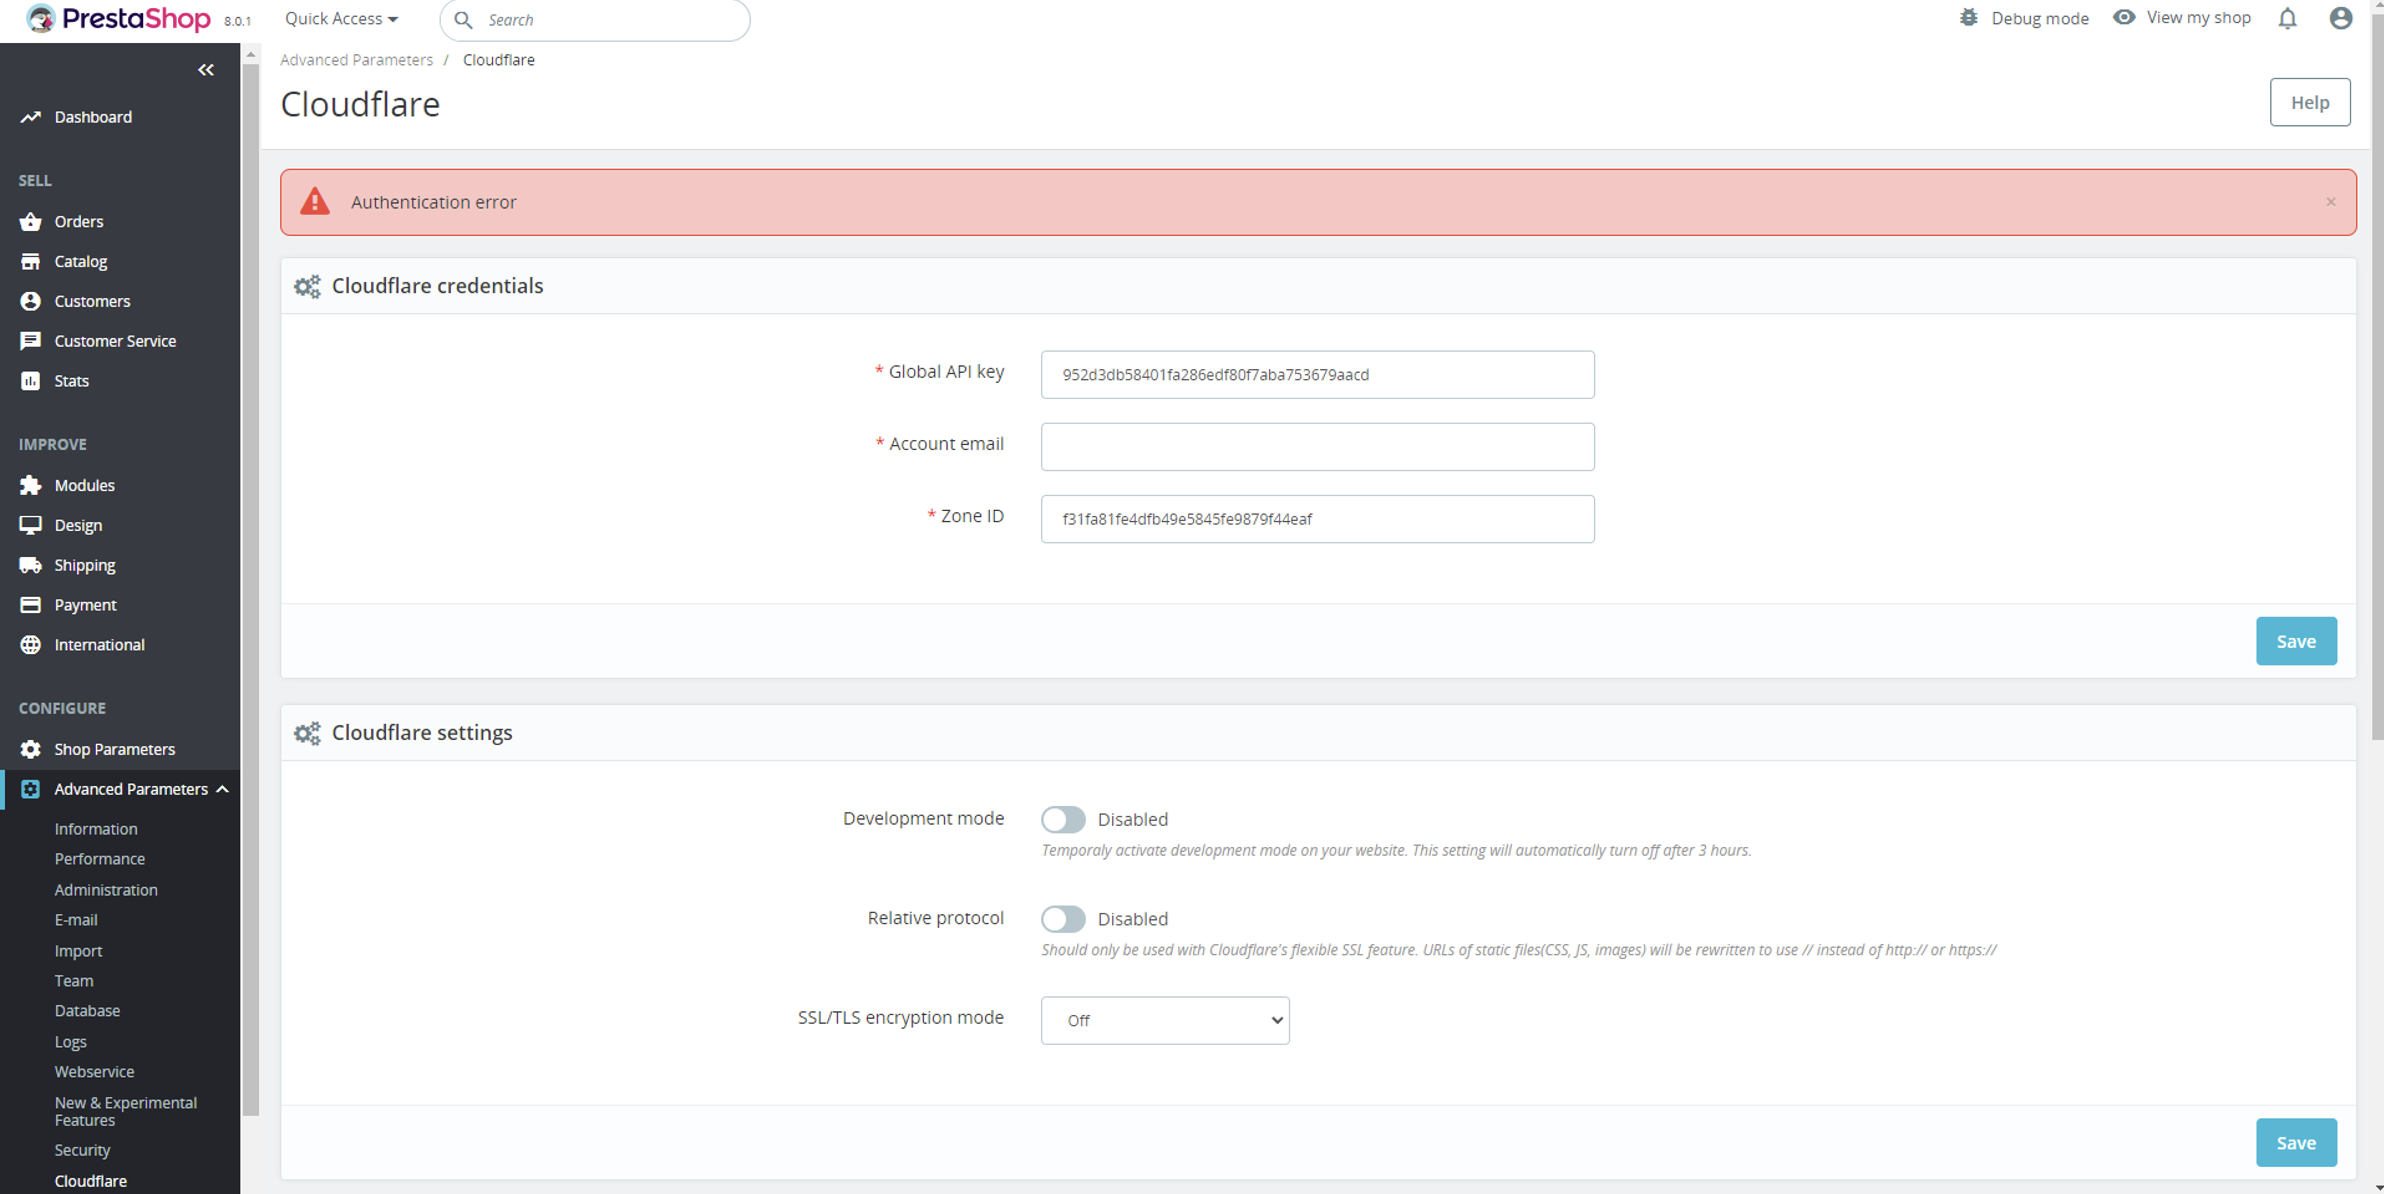
 When the user filled in credentials: – the user can change and save settings or deal with cache and after his actions he will receive message such as “Changes successfully made”: