Passwordless login with Google Passkeys – PrestaShop module
Passwordless login with Google Passkeys is part of the Multi-tool module, so you will additionally receive many other useful tools for free!
Read more about the Multi-tool module
Goal
Passkeys by Google are a safer and easier alternative to passwords. Users and Admins can log in with a biometric sensor (such as a fingerprint or facial recognition), PIN, or pattern, freeing them from having to remember and manage passwords.
Benefits for Merchants
- Passkeys by Google security and reliability
- You do NOT need any Google accounts
- Biometric sensor (such as a fingerprint and facial recognition) or PIN code login without entering a password every time
- Works for Android, iOS, Windows and any other devices with a Biometric sensor or PIN
- Most modern devices (smartphones, tablets and laptops) support
- Increased site usability – simplified authorization allows your customers to log in quickly and easily
- Eliminates the problem that your customers forget their login or password – they will be able to log in using the device authorization method
- Admin and store managers can also easily log in to the admin panel
Benefits for customers
- Eliminates one of the biggest problems for users – using a login and password every time
- Users should not remember their login and password anymore
- Makes the account authorization quick and easy
Features
- Creating a Google Passkey for login both for admin and customers
- Authorization using Google Passkey
- Biometric sensor (such as a fingerprint and facial recognition) or PIN code login
- Authorization using a Passkey on the backend for admins and managers
- Creating a Paykey by user (customer)
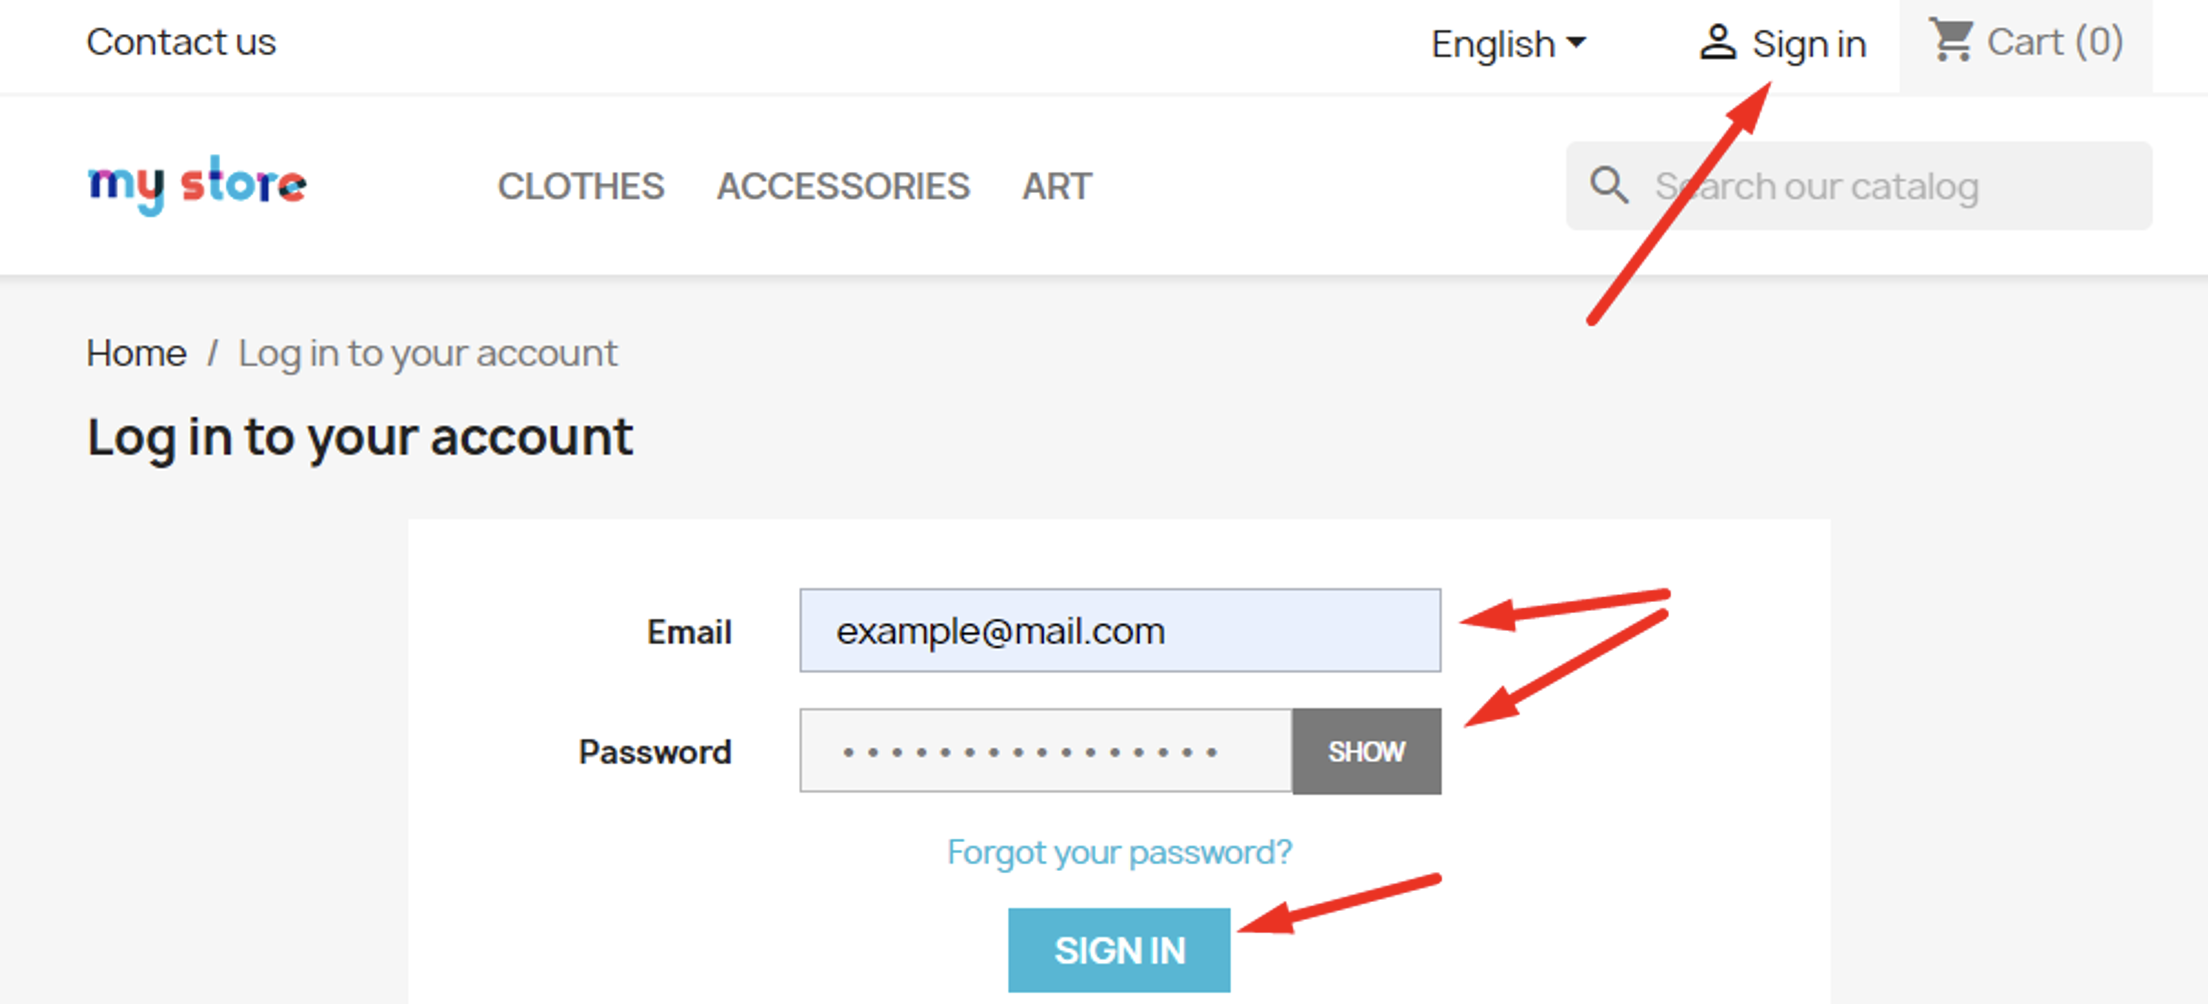
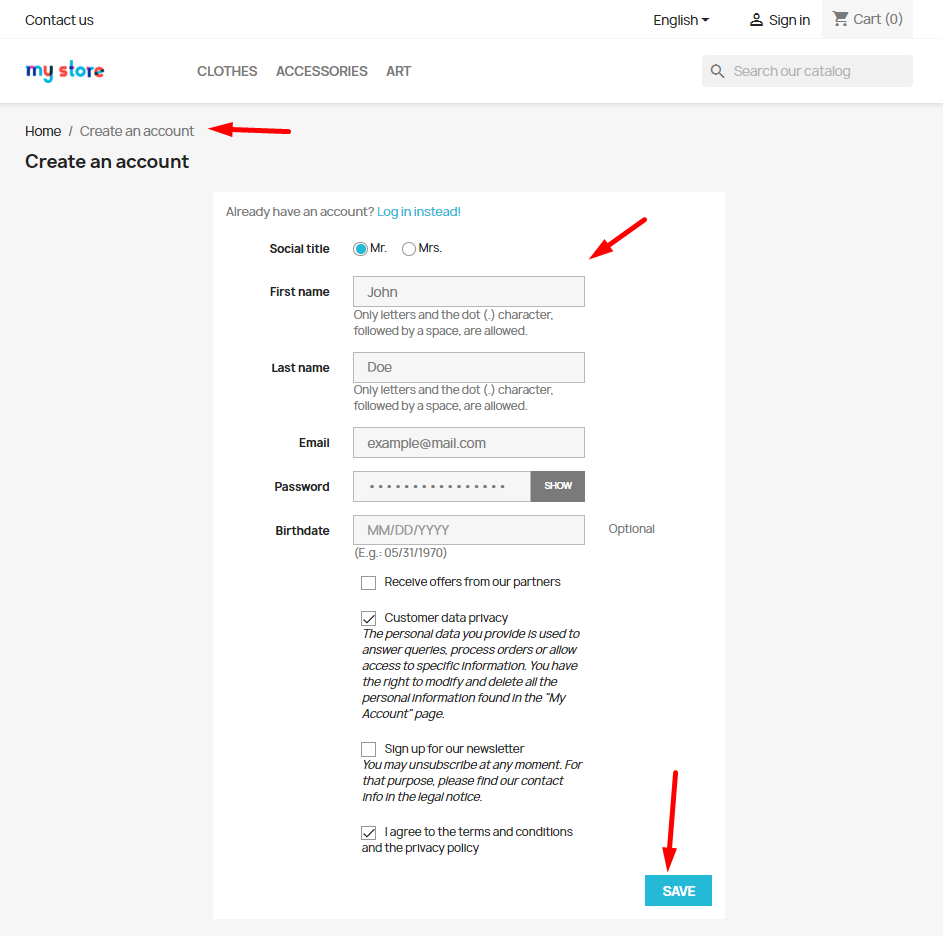
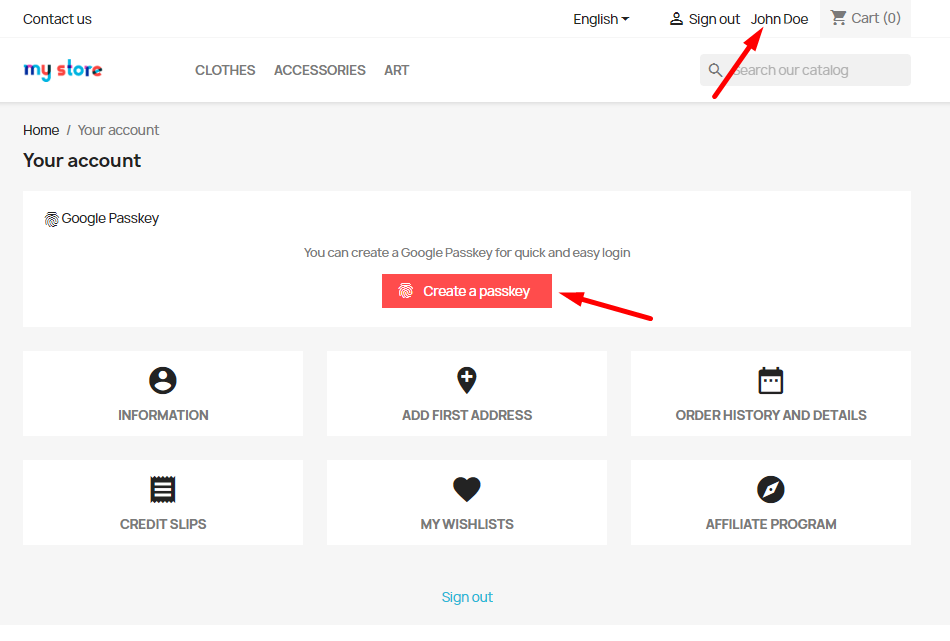
The first step is to create a new account or log in to an existing one by entering a login and password:
Open the user’s account and click the “Create a passkey” button:
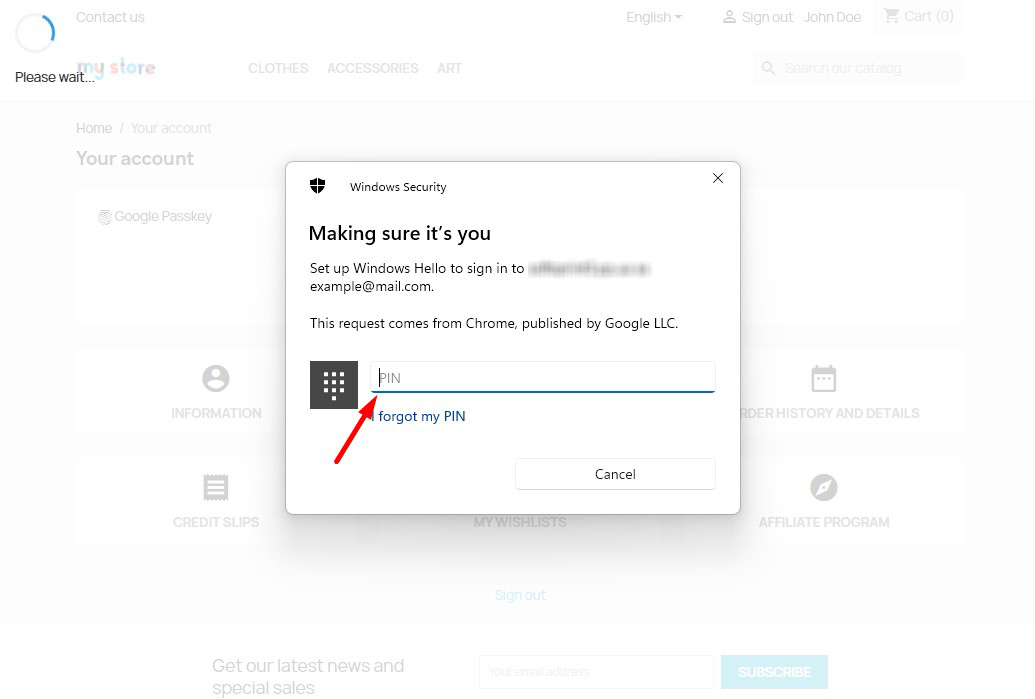
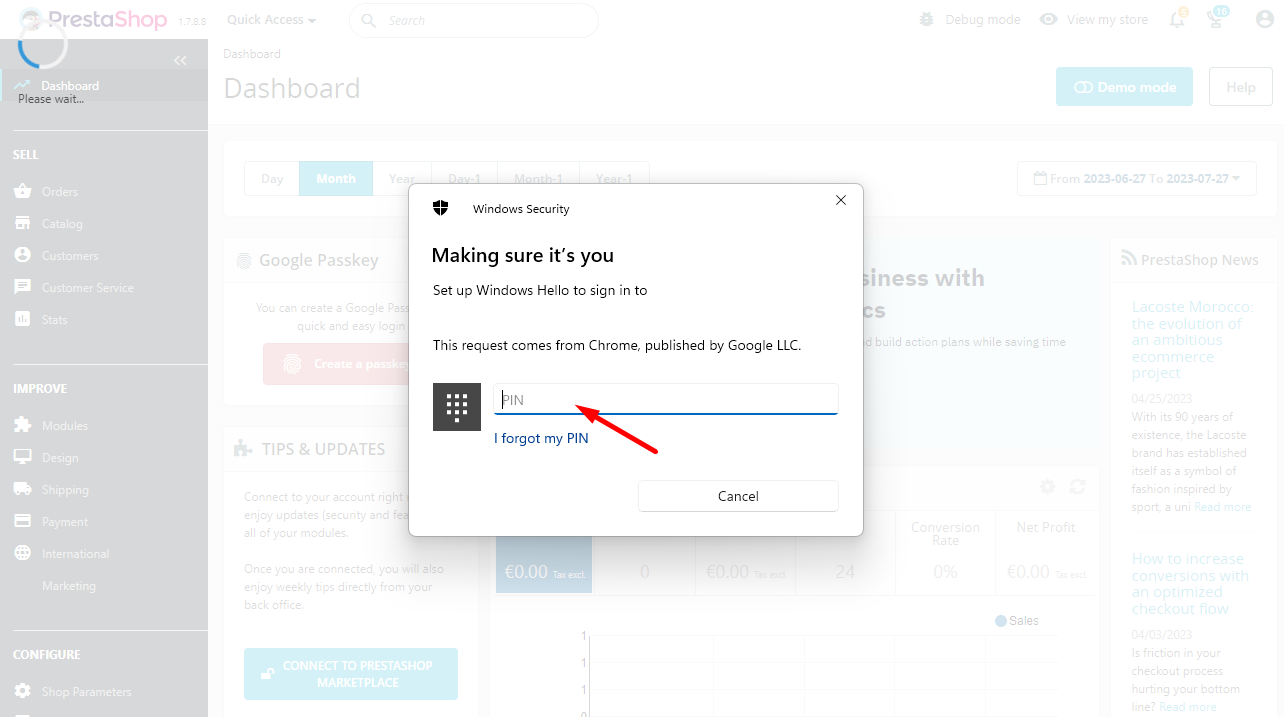
Use the authorization method configured on your device (Windows OS on example below):
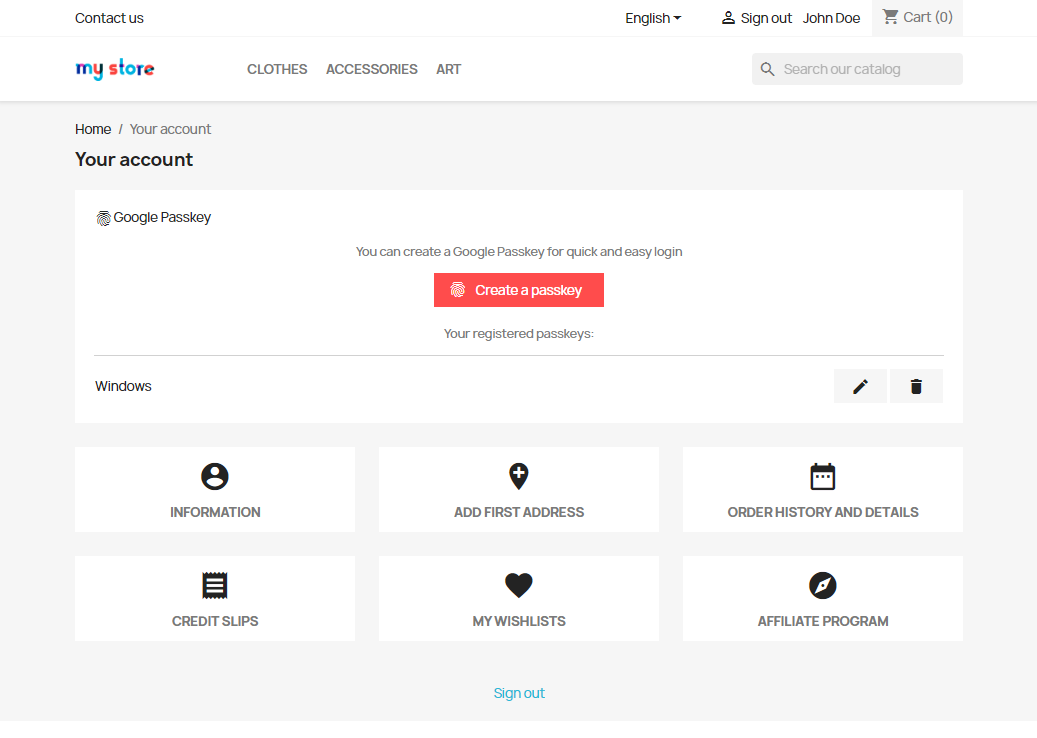
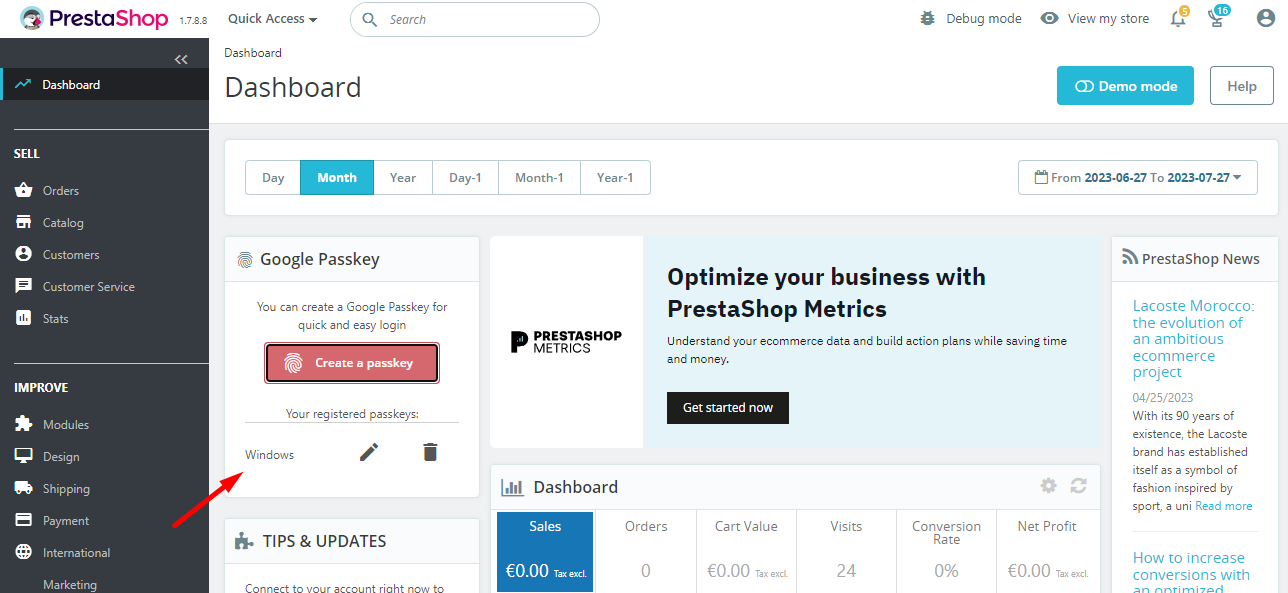
After that, the passkey will be generated and it will appear in the table under the button:
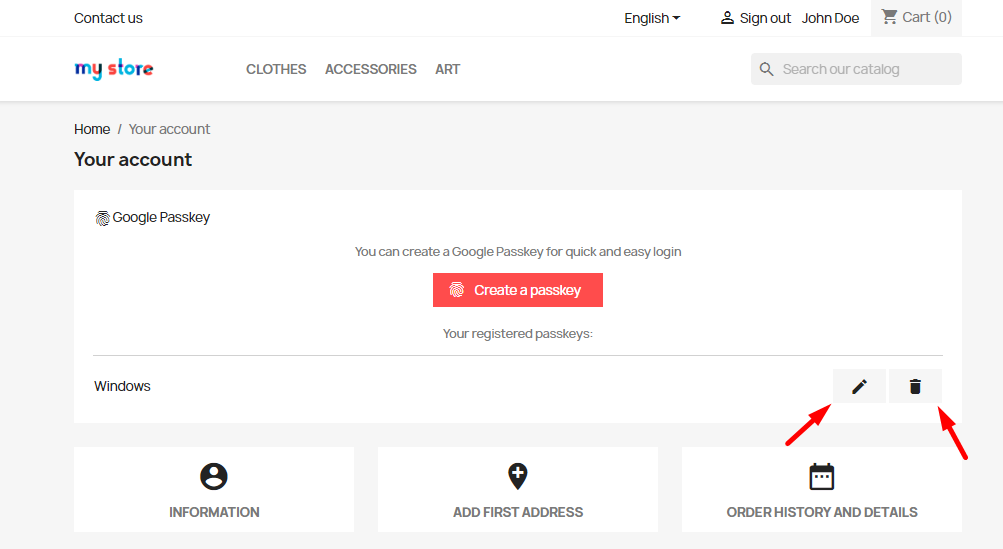
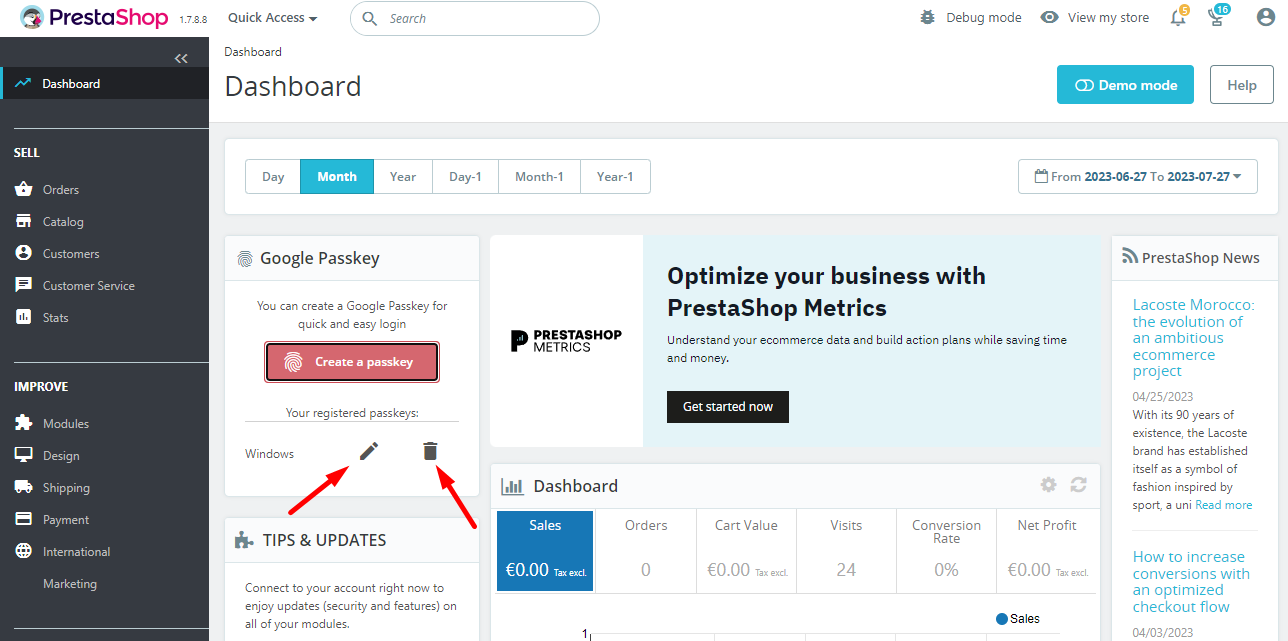
You can rename or delete a key using the edit or delete buttons:
- Creating a key for the administrator
In the admin panel, go to the Dashboard page and click the Create a passkey button:

Use the authorization method configured on your device:
After that, the key will be generated and it will appear in the table under the button:
You can rename or delete a key using the edit or delete buttons:
- Authorization using Google Passkey
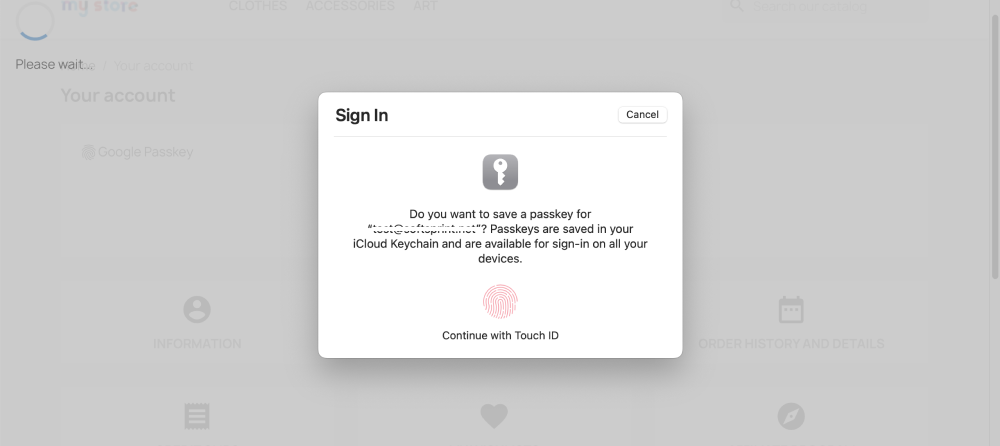
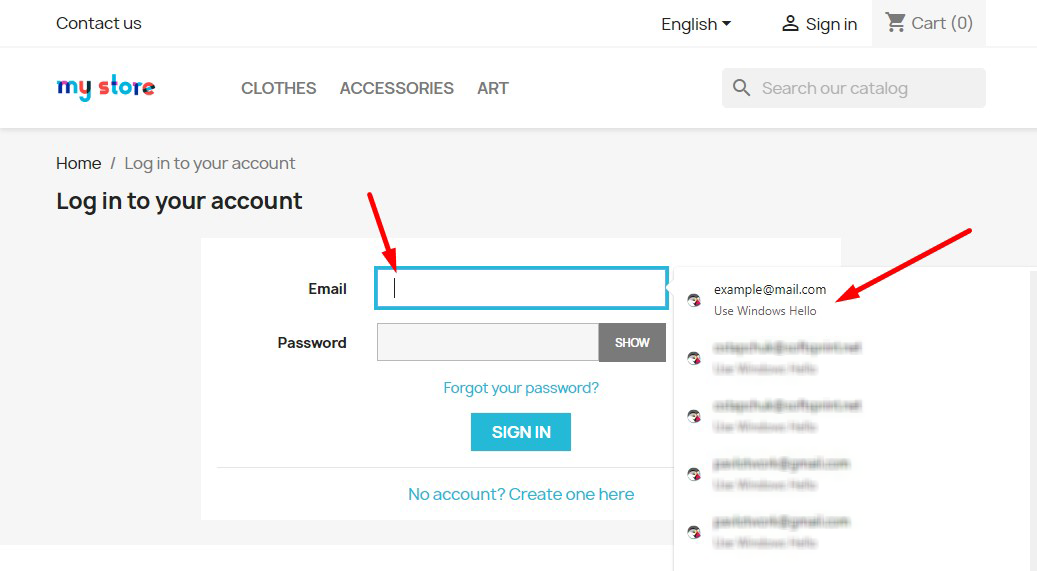
Go to the page with the authorization form and click on the Email input field. A list of saved options for authorization will appear. There will be Google passkey among them – click on it:
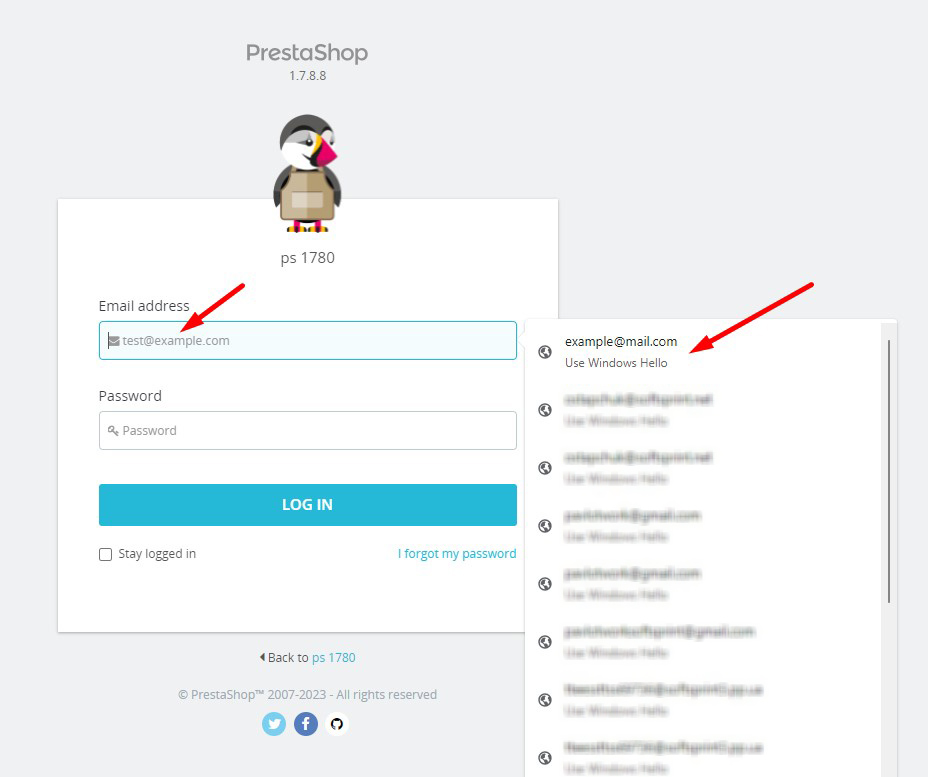
Use the authorization method configured on your device:

Wait for the operation to complete and you will be successfully authorized and redirected to the target page!
MAC OS example: