CSS3 animation in Google Web Designer
Flash is going to the past being replaced with the HTML5 and new features of CSS3. Mostly this transition is obliged to the stop of flash support on Apple devices (iPhone, iPad). In this article we will look through how to create CSS3 animations in free Google Web Designer software (version 1.6.1.0726 at the time of writing the post). It is clear that the description of CSS3 animation manually is a waste of time, that`s why such products from Google and Adobe (Adobe Edge Animate CC) and are gaining the popularity.
We will touch only the minimum required functionality of Google Web Designer in this article. Internet provides sufficient lessons and material for the detailed study – google it))
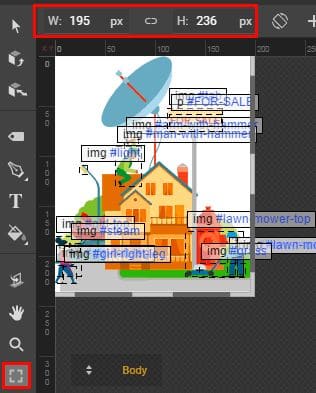
Thus, the size of the field of animation is defined here:
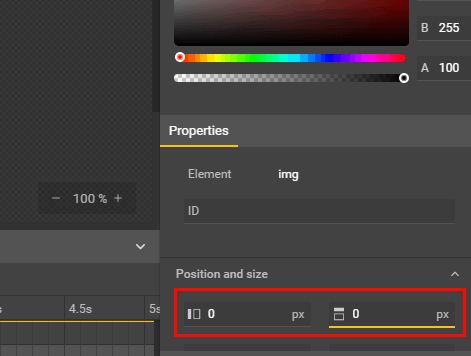
You can easily add an image in the created region – just drag the desired image from the folder on your PC into this area. In case you want to place the image in the top left corner of the working are it`s enough to specify 0 (zero) in the following fields:
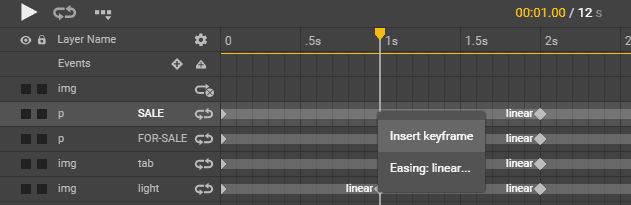
The animation logic consists of the shots adding with the certain time intervals – keyframes, which correspond to the properties of the animation in CSS (@keyframes). While creating a frame object its properties are determined automatically, for example, the size or position, and other effects. The collection of frames defines animation.
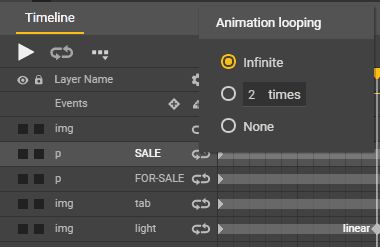
It is possible to specify the number of animation repetitions by clicking the right mouse button:
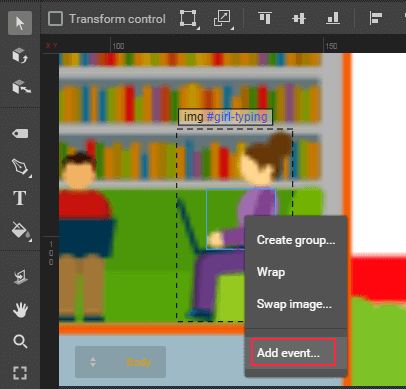
More complex are the events which you can describe manually by using JavaScript, but why? Google Web Designer has a user-friendly functionality of certain events. Let’s look at the example: we need to stop the endless animations while moving the mouse on object and start it and when moving out the mouse from it again. Right-mouse click on the animated object and choose “add event”.
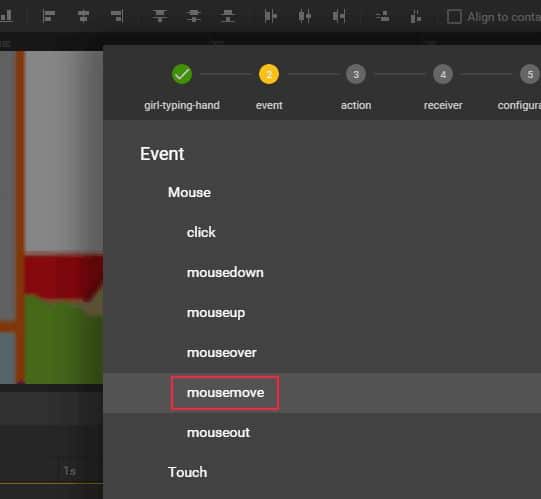
Next, select the type of event, for example, move on the target object “mousemove”:
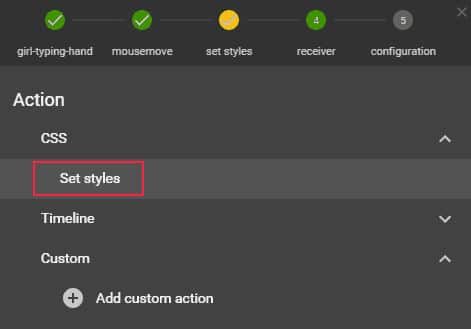
Select the object for mousemove property we need and add the appropriate CSS-style:
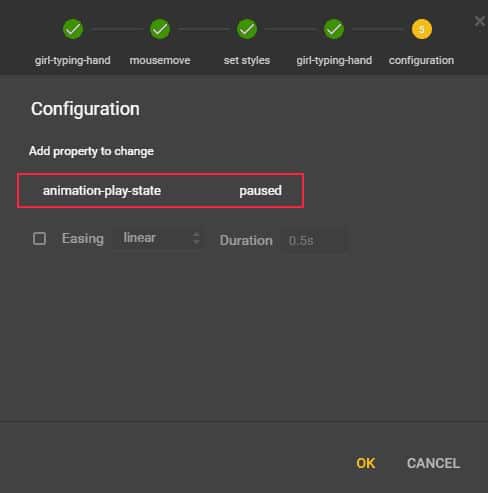
Added feature animation-play-state: paused;
It just means that you need to pause the animation when you hover over the required object.
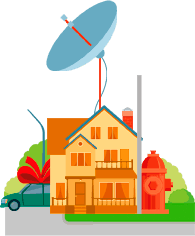
Other Google Web Designer possibilities you can try by yourself, but listed above is enough to make the animation shown below. It works on all types of devices (browsers), it is the most lightweight and responds well to the set up (changing animation speed of individual elements and their properties, etc.), because its source code is a valid CSS. We can always edit this CSS-code manually in any editor if need. So, look:
FOR SALE
SOLD